Monday, January 16, 2012

unexpected delay


Well, I am not one to complain about having a lot of business to keep me employed, but sometimes work just gets in the way of the fun stuff! December was really busy but we made it through the holidays and are ready for 2012. Back just before Christmas I ordered what would become a temporary spray booth to do the clear coat. It came in a couple of weeks ago but was missing some parts. I waited another week to get the parts and still didn't get all of them. Finally this weekend I got it set up. Next was to get a humidifier setup in the room and a hygrometer to measure the humidity levels in the spray booth so I can keep it consistent during the process. Today I sprayed the last coat of sanding sealer on the guitar and will likely put the first coat of clear nitro finish on tonight. Doing more research now to make sure I know what i'm doing before I get to spraying!

Monday, December 26, 2011

SUCCESS!!! Neck is SET!


One of the most nerve wracking parts of this build appears to be a total success! I glued the neck into place a few days ago and though the glue bottle label said to clamp it for 30 minutes, a friend suggested a minimum of 48 hours.... SO, 3 days later I took the clamps off. It appears to have set beautifully. We will only know though in about a month when I can finish assembling it and put strings on and PRAY it holds. I do have a few touch up places to hit on the side in the upper cut-away. you can see in the photo where there is a spot that didn't take the dye. Gonna have to sand it a bit and add some more dye. This build is going great so far. Next big task is to build a temporary paint booth and spray several coats of Nitro Lacquer then let her sit.

Thursday, December 22, 2011

The next big step: Setting the Neck


Tonight I got the time and the nerve to attempt setting the neck on the guitar build. For those of you who don't know what that means, it is the process of gluing the neck into the guitar body. The intention is for it to be a permanent bond, but when the right kind of glue is used, it can be undone with some heat and moisture. It LOOKS like a straight forward process but i assure you it is nerve racking as well as a little complex. Long before I started putting color on the body I had to make sure the neck fit properly and sand it accordingly, then after color i had to mask off the area of the neck that would be glued so as to not get color or sealer on that part of the wood. Then tonight i had to measure for the exact center of the neck and mark the neck as well as the pocket so that once glued it could be aligned to be straight. once glue is applied I clamped the neck into place with 3 large clamps. I added a binding band (giant rubber band) to help hold some pressure length-wise too. Now I just have to wait at least 48 hours to let the glue cure. Once cured, I'll clean up the excess glue that expanded out of the joints in places i couldn't reach thanks to the clamps. Then it's on to lacquer clear coat. That's when the patience has to kick in... once cleared, the guitar will have to sit (or hang) completely untouched for 30 days... that's right... a MONTH. I'll post of few more updates as I get it to that point then you'll likely not hear from me for 4 weeks on this project. However, I may start a second guitar in the mean time... this is FUN!

Sunday, December 18, 2011

Sanding Sealer


So after a couple of busy days I was able to take a few minutes and do the next step on the guitar. Tonight I wiped the body and neck down with a clean cloth and sprayed 2 coats of sanding sealer over the body and neck. I guess tho when they say to use in a "well ventilated" area, they were not referring to my downstairs room that has the windows covered. There is a house full of spray can fumes! I now have several windows open and fans on trying to air out the house. Guess the temporary spray booth I saw online will be a MUST for the Lacquer finish! YUCK! Guitar will dry over night and then it's on to setting (gluing in) the neck into the body. Bonus to having a full blown photo studio at home, is even the photos of the guitar parts hanging from C-stands and lit with a huge soft box look cool! HA! Big thank you to my buddy Bryon at Little Rock Frets for loaning me a large clamp to aid in setting the neck. That will come in handy!

Wednesday, December 14, 2011

POW! THAT'S PURPLE!!!


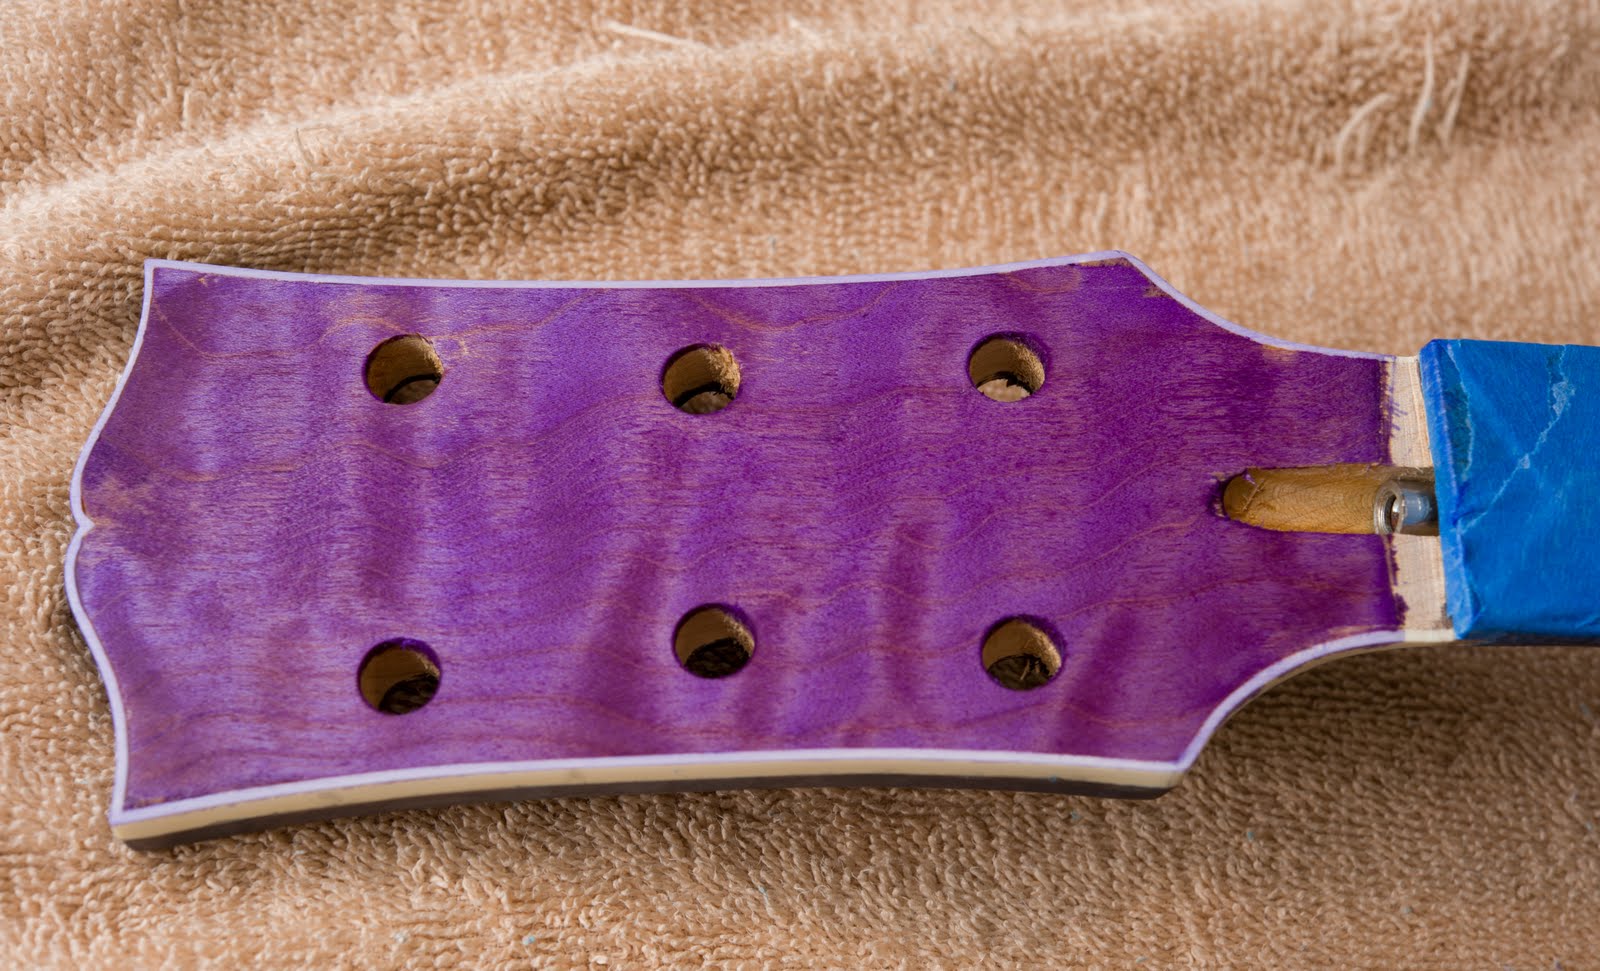
Really picking up momentum on the ES-335 style guitar. Tonight I had to conquer the tedious task of scraping the binding (white plastic trim) to get all the excess black dye off. This is done by carefully scraping it with a utility knife blade. The entire process took about two and a half hours. Before I started that, I mixed a batch of the purple dye to use on the front of the guitar. The dye comes in powder form so it must be mixed with either water, alcohol or lacquer. Water is the way to go, it's easier and takes longer to dry therefore allowing it to work its way into the grain of the wood better. To get a good consistent mixture, I mixed it with hot water then strained it through a coffee filter to avoid chunks of un-disolved powder. Mixing it before working on the binding allowed the dye enough time to cool before I was ready to use it. After one coat of purple dye, i am IN LOVE with the results! Upon inspection, there are a few areas that will have to be sanded again and then more dye applied to get a good, even finish. I'm going to try not to make it any darker as i like the "pop" this has as it is. Looks great with the contrasting black back and sides and that white binding! Tomorrow, once the dye has dried enough, I'll make another photo or two with some of the gold hardware sitting on the guitar just to show you how pretty it's going to be!

Tuesday, December 13, 2011

COLOR


This morning I decided I was ready to start adding color to my guitar project. After much sanding (see previous posts) I mixed some black dye and gave it a shot. I did test it on another piece of wood first though! The last picture in this post (they're in reverse order) is the body after the first coat of black. Looks pretty awesome! I let it dry a few hours then I sanded it as you can see in another photo... this step allows the dye to remain in the darker areas of the wood and the flat grain of the wood to be lighter. That way, when the second coat of dye is added the dark spots get darker and the lighter areas are back like they were before sanding. This can be seen in the first 2 photos. When dry, the dye looks a little dull and sort of grey, but everything I've read and watched says that the color will get really rich like it was when wet once i put clear coat on it. Tomorrow, I plan to seal the back and sides with sanding sealer then clean the binding to get rid of any dye that got on that. The next step will be to add purple dye to the front of the guitar body and headstock. Keep watching!

Monday, December 12, 2011

Sanding and More sanding and a touch of stain


Well the tedious task of sanding the guitar body and neck is almost done. I started with 220grit paper then moved to 400, then 600 and finally 800. It took a couple of attempts and thanks to some web-found advice I learned some tricks to get scratches out and keep a nice smooth surface. Tonight I touched up the sanding and got my first round of black dye on the back of the neck. Measurements are now made to drill holes to mount the bridge and tail piece. Hopefully, tomorrow I will get the black stain on the back and sides of the guitar. After that has dried 24 hours, i'll give it a light sanding and another coat of black. THEN, I can start doing the purple for the front! See the photos and you'll see how nice the grain is going to show through the black on the neck. Can't wait to see the body when it has color!